6. PIO module
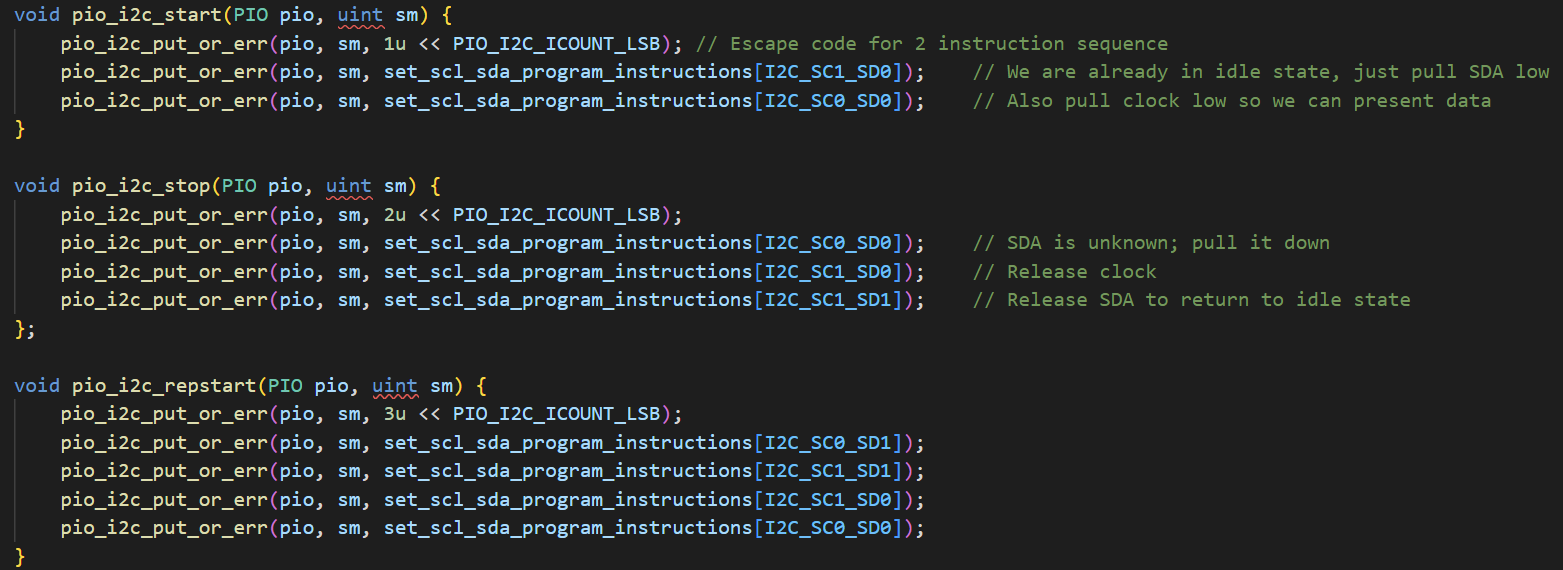
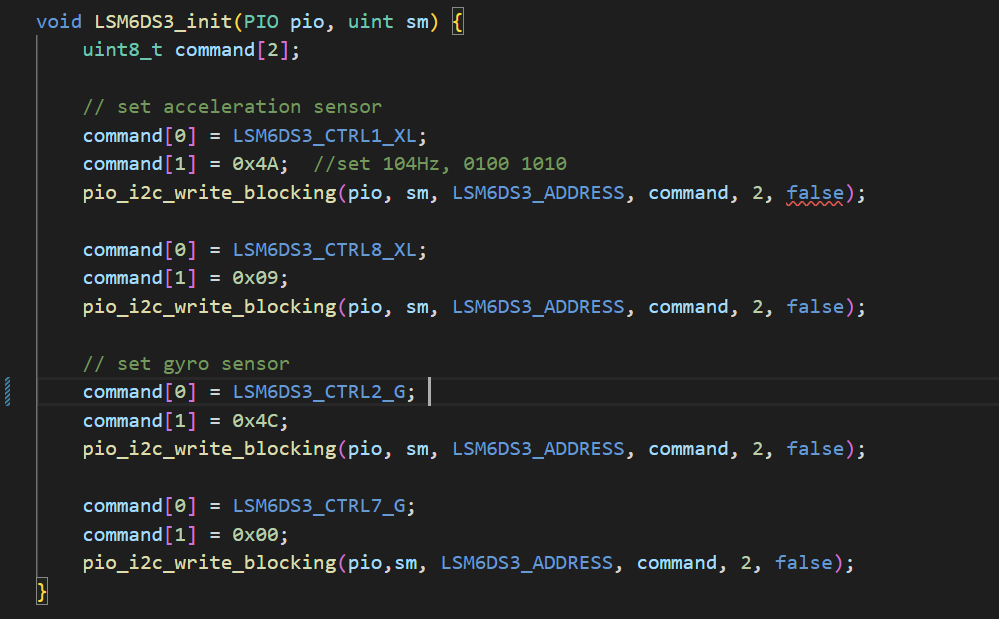
We are basically using pio to drive the i2c, just like what we do in Lab2b. This is a more reliable and faster way to estabilish communication between sensors and MCU. We modified the code in Lab 2b, by configuring the registers within the IMU chips, we successfully received the serial data in the test program on QT2040 broad; then we transplanted the function onto our PICO4ML broad.

When we fully grasp how i2c works, we can use pio to simulate an identical i2c function. And also, we can find the promblems of the example of pio-i2c in pico-example.

Initialization

We are also trying to use PIO to simulate the SPI function used in driving ST7735. However, due to limited time, we did not make it.
In addition, after exploring the rp2040 for an entire semester along with numerous sensors and components, we realized that strong enough portability is an important part of embedded systems or embedded programming. And PIO module is just perfect for this possibility. For example, in the first lab, we are trying to drive the WS2812 LED. We first read the datasheet and figure out what is the working principle, and then we programmed the IO port to meet the requirements. Thus, if possible, we can drive all the devices only if we have the correct ‘rules’ by the PIO module.
Also, PIO can provide stimulation to the GPIO functions like I2C, and SPI. This is a more efficient and reliable way to establish this communication method. Also, when we are in the process of finding a simulation method, we are having a better understanding of the working principle of these communication methods.